How to Fit Newel Posts on Stairs: A Complete Guide
When renovating or installing a staircase, fitting newel posts correctly is essential for both safety and aesthetics. In the UK, staircases must comply with Part K of the Building Regulations, which covers protection from falling, collision, and impact. That means your newel posts are not just decorative – they’re a structural requirement, ensuring your balustrade is secure and capable of supporting the handrail.
This guide explains, step by step, how to fit newel posts on stairs, what tools and materials you’ll need, and the regulations you must be aware of to stay compliant.
What Is a Newel Post?
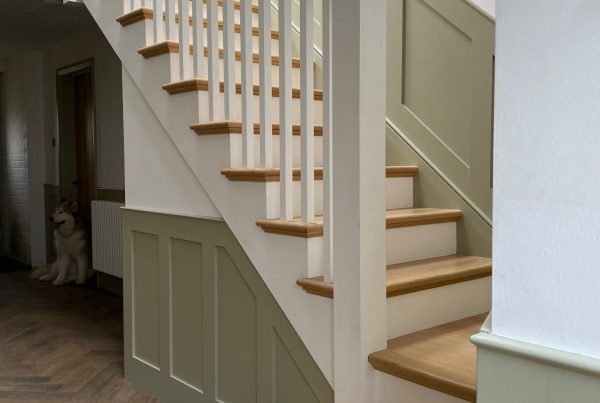
A newel post is the vertical supporting post found at the bottom, top, and sometimes at turns or landings of a staircase. It anchors the handrail and balusters, providing strength and rigidity to the balustrade.
-
Starting newel – the post at the foot of the staircase.
-
Landing newel – positioned at the top where the stairs meet the landing.
-
Intermediate or turning newel – placed at corners or where the stairs change direction.
While newel posts can be ornate or simple, their function is always the same: to stabilise the staircase and handrail system.
UK Regulations for Newel Posts
Before starting, it’s vital to understand the UK Building Regulations governing staircases:
-
Handrail height: Between 900mm and 1000mm above the pitch line of the stairs.
-
Balustrade strength: The structure must resist a horizontal load of 0.36 kN/m for domestic stairs.
-
Spacing: No gap in the balustrade (including between spindles and posts) should allow a 100mm sphere to pass through – to protect children.
These rules mean your newel post must be securely fixed into the stair structure, capable of carrying the load from the handrail without movement.
Tools and Materials You’ll Need
To fit newel posts properly, gather the following:
-
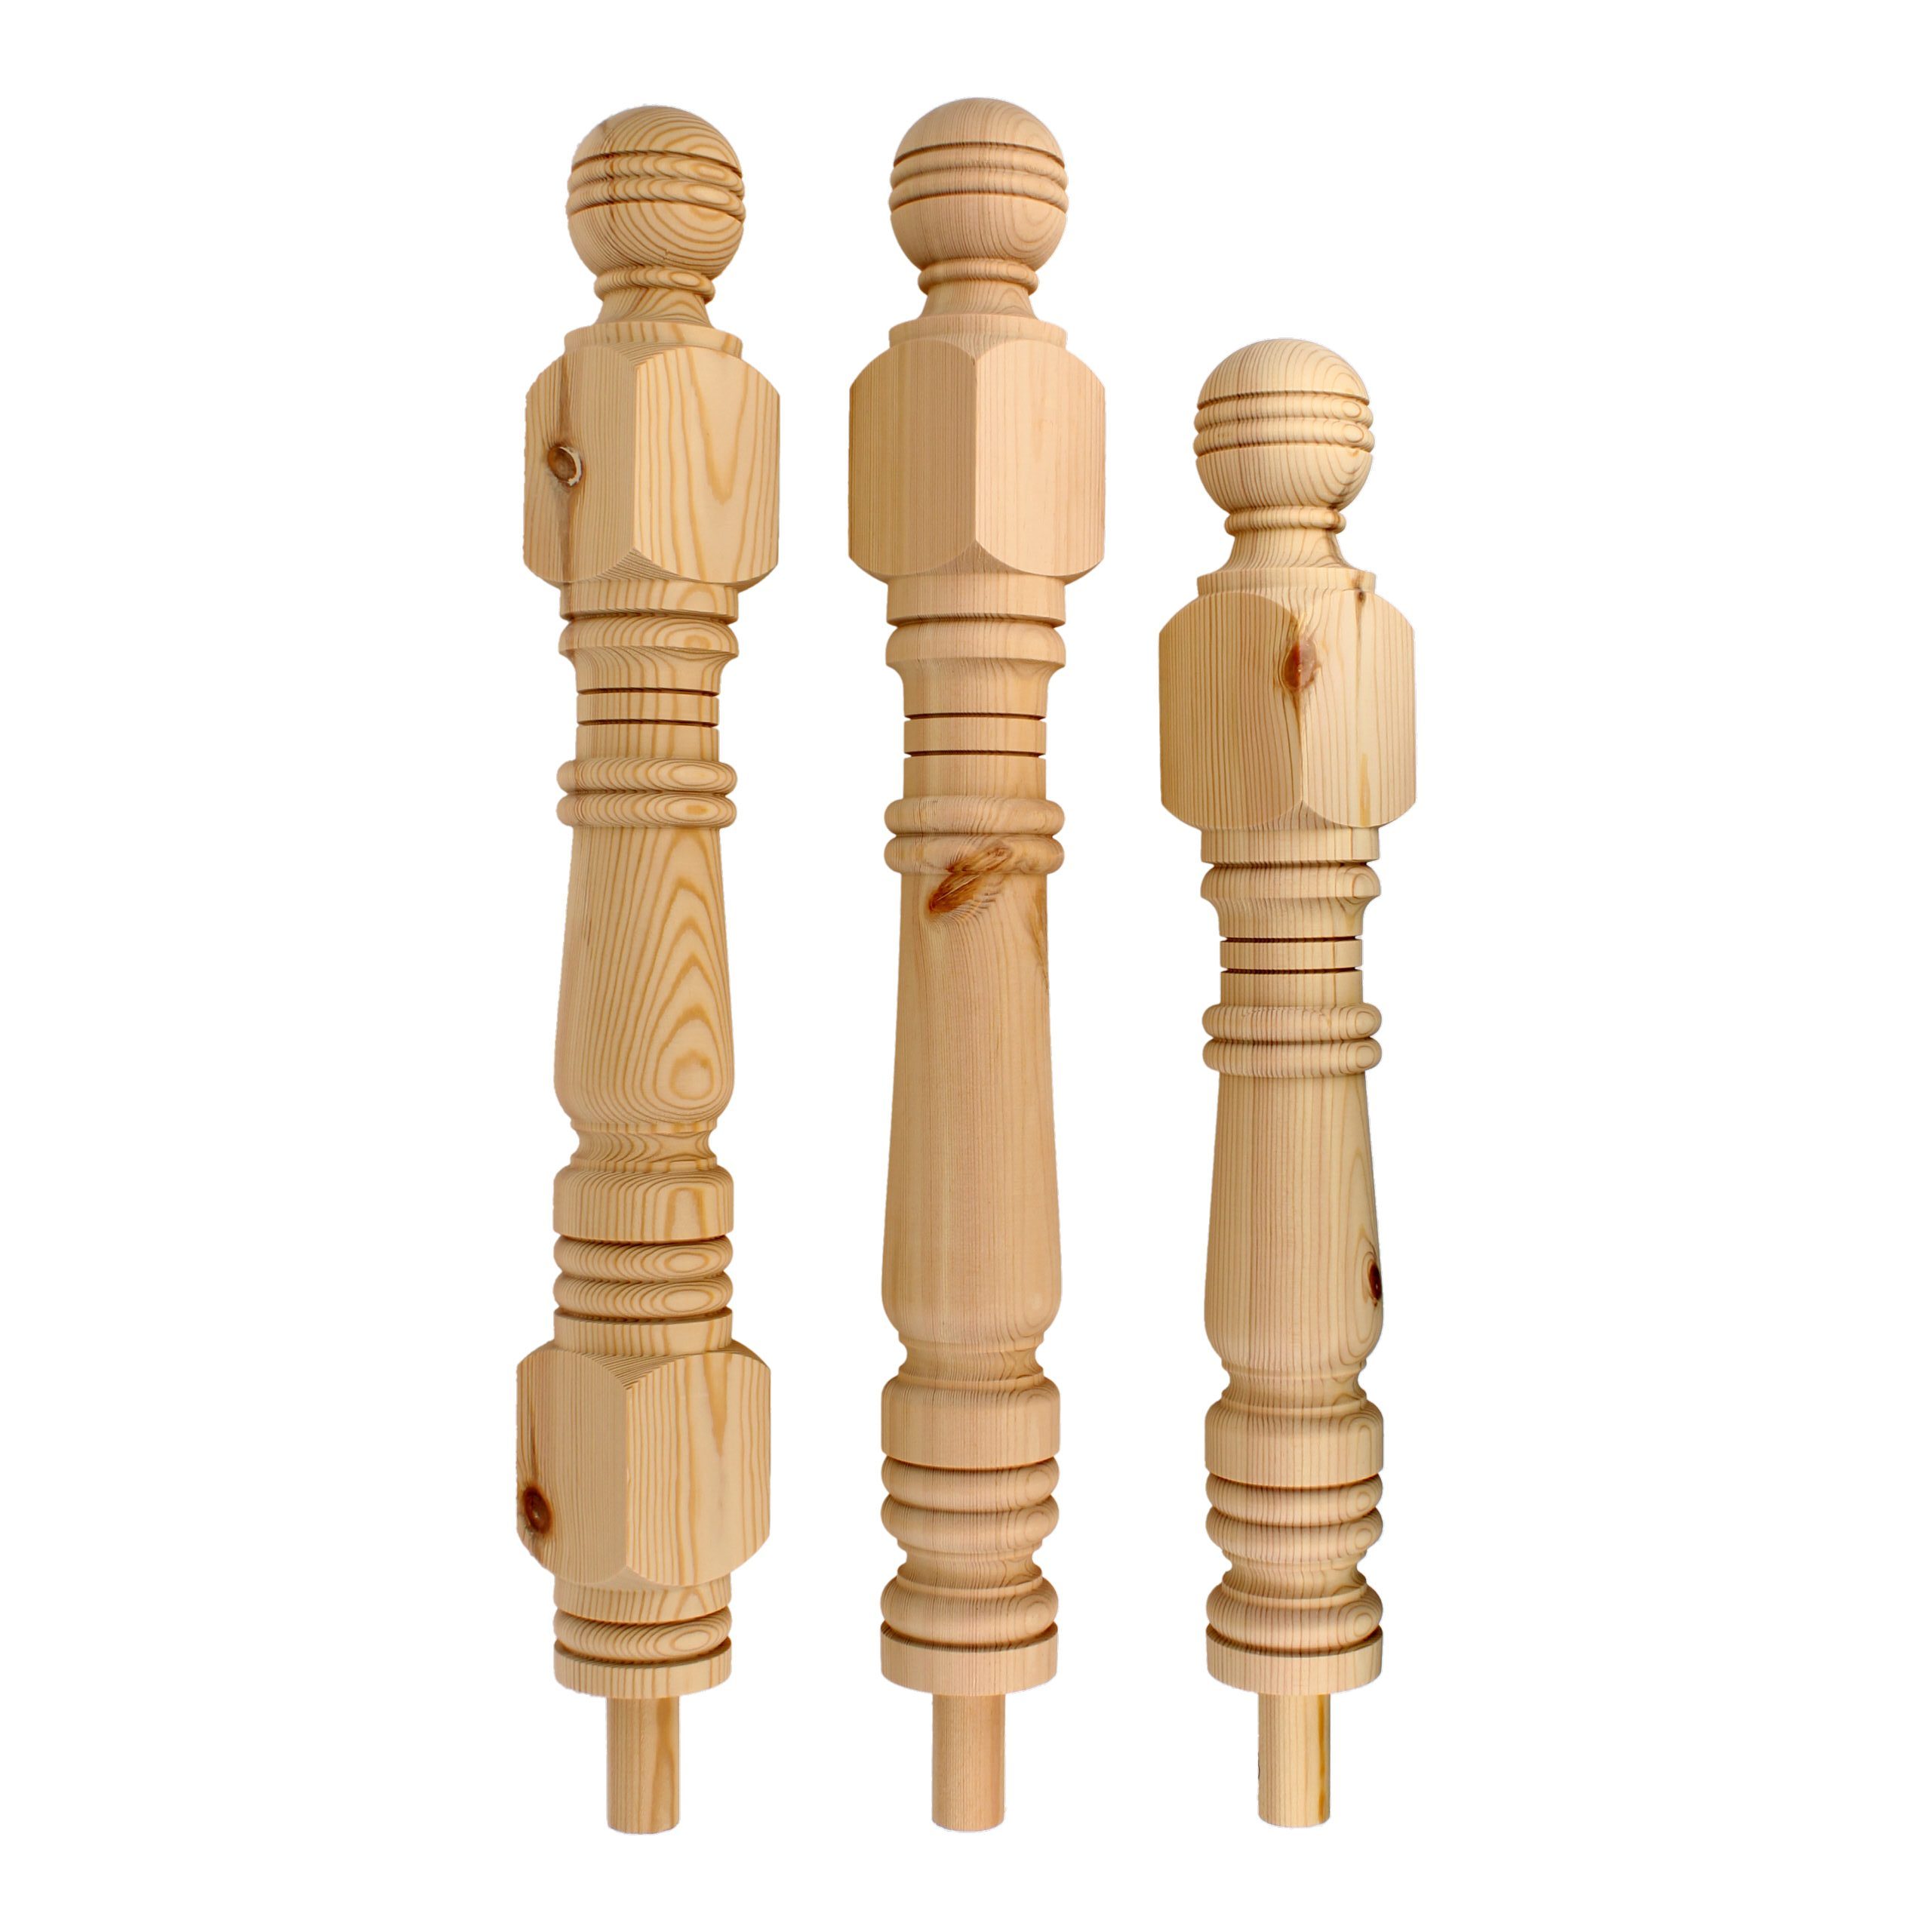
Newel posts (pre-drilled or solid, depending on method)
-
Handrail and base rail
-
Wood screws and bolts (coach screws or hanger bolts are common)
-
Drill and wood bits
-
Screwdriver or impact driver
-
Chisels and mallet
-
Wood adhesive
-
Spirit level
-
Measuring tape and pencil
-
Wedges or dowels (if using traditional mortise and tenon joints)
-
Sandpaper and finishing materials (varnish, paint, or oil)
Step 1: Planning and Measuring
Start by marking the exact position of your newel posts. Typically, one goes at the foot of the staircase, another at the top landing, and additional posts where the staircase changes direction.
-
Use a plumb line or spirit level to ensure posts will stand perfectly vertical.
-
Measure carefully from the stair nosing to maintain the correct handrail height.
-
Double-check clearance, especially on turns, to ensure the handrail will flow smoothly.
Tip: Always measure twice and cut once – mistakes in alignment can be costly.
Step 2: Preparing the Staircase
Depending on whether you are replacing old posts or fitting new ones:
-
Replacing posts – carefully cut away the existing newel post using a saw, leaving the base intact if possible. This makes installing the new post easier.
-
New installation – mark and cut a housing joint into the stringer (the angled side support of the stairs) or landing area.
The aim is to create a secure housing where the newel will slot firmly.
Step 3: Fixing the Newel Base
There are several ways to fix a newel post base in line with UK practice:
-
Traditional mortise and tenon joint
-
The stringer or landing joist is cut to receive a tenon from the base of the post.
-
The joint is glued and wedged for maximum strength.
-
-
Hanger bolt method
-
A hanger bolt (wood screw on one end, machine thread on the other) is inserted into the post base.
-
A nut and washer secure it through the floor or stringer.
-
-
Coach screw or bracket fixing
-
Heavy-duty screws or metal brackets are used to anchor the post to the floor or stair structure.
-
Often hidden beneath decorative caps or plugs.
-
Whichever method you choose, ensure the post is firm with no wobble. A shaky post not only fails regulations but is also unsafe.
Step 4: Aligning and Securing the Post
-
Place the post in position and check it is plumb on all sides.
-
Secure it gradually, tightening screws or bolts a little at a time.
-
Re-check alignment as you go – once fixed, it’s difficult to adjust.
-
If using adhesive, allow sufficient curing time before applying load.
Step 5: Attaching the Handrail
Once your newel posts are firmly in place:
-
Mark the correct height for the handrail (900–1000mm above pitch line).
-
Cut the handrail to length, ensuring neat mitres at corners.
-
Use handrail bolts or dowels to fix the rail securely into the newel posts.
-
Check that the handrail runs smoothly and evenly, with no sudden dips or rises.
Remember: the handrail must withstand the horizontal load requirement under Building Regulations. This is why a strong newel post fixing is so critical.
Step 6: Adding Spindles and Finishing Touches
-
Fit spindles evenly, ensuring gaps do not exceed 100mm.
-
Fix them into the base rail and handrail with adhesive or nails.
-
Sand any rough edges on the posts and rails.
-
Apply your chosen finish (paint, stain, or varnish) to protect the wood and enhance appearance.
Common Mistakes to Avoid
-
Loose fixings – posts that are not firmly secured will loosen over time.
-
Incorrect handrail height – can lead to Building Control refusing approval.
-
Poor alignment – creates an uneven or twisted appearance.
-
Over-tightening screws – may split the timber, weakening the structure.
Safety and Compliance Checklist
Before declaring the job finished, check:
-
Posts are plumb and immovable.
-
Handrail height is 900–1000mm.
-
No gaps larger than 100mm.
-
Fixings are hidden or neatly finished.
-
The balustrade feels solid when pressure is applied.
Professional vs DIY Installation
While fitting newel posts is achievable for experienced DIYers, many homeowners choose professional installation, particularly if:
-
The staircase is bespoke or unusually shaped.
-
Structural modifications are needed.
-
You are selling the property and need full Building Regulation sign-off.
A professional joiner or staircase fitter will ensure compliance and provide peace of mind that the installation is safe and long-lasting.
How to Fit Newel Posts on Stairs – Final Thoughts
Fitting newel posts correctly is a vital step in creating a staircase that is safe, stylish, and compliant with UK regulations. By planning carefully, securing posts firmly, and aligning the handrail correctly, you can achieve a professional finish that enhances both safety and style.
Whether you’re restoring a period staircase or installing a modern design, the key principles remain the same: precision, strength, and compliance.
Contact us today to disucss your staircase requirements or use our online staircase builder tool.